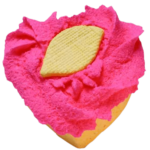
It’s the hardest thing to figure out for a new bath bomb maker…how do you make a bath bomb float like LUSH? Why don’t any of the online recipes make bath bombs float like LUSH?
Two ingredients Make them Float!
The first one is called SLSA (Sodium Lauryl Sulfoacetate), and you may have it on hand if you are a frequent bath bomb maker.
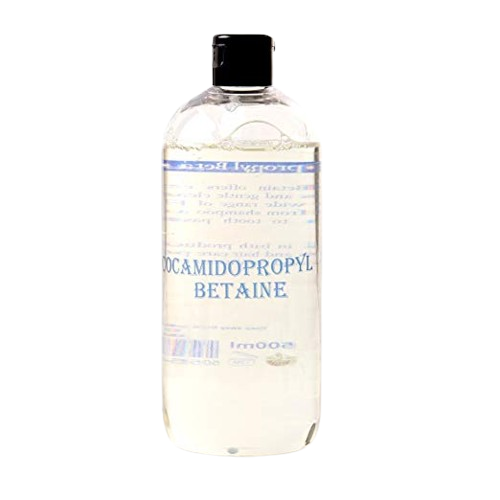
The other ingredient is Coco Betaine (Cocomidopropyl Betaine). Both of these ingredients are natural bubbling agents made from coconuts.
Coco Betaine is very inexpensive and this bottle from Amazon Prime will last you a long time. In addition, you can also use it in our bubble bar recipe.
How do I know this will make them float?
Seven years of bath bomb manufacturing & I hacked LUSH’s recipe.
Oh, yes I did.
If you look at LUSH’s large floating bath fizzies, they use Lauryl Betaine and Sodium Laureth Sulfate together in their formula.
Cocamidopropyl betaine and Sodium Lauryl Sulfacetate are the perfect ingredient hacks because both are natural, affordable, widely available and make bath bombs float like LUSH!
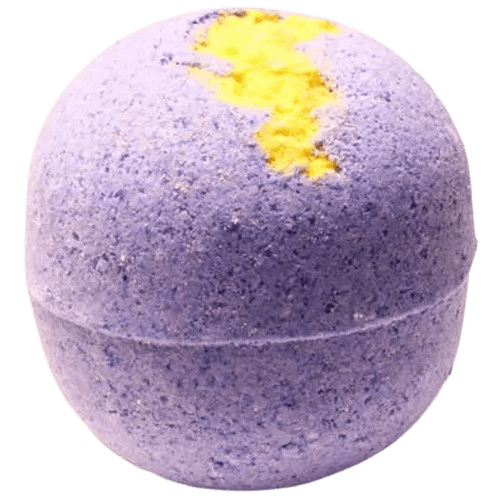
Still don’t believe it? Watch this video.
The video below shows multiple bath bomb designs using our master recipe.
You can use this recipe to make any shape, size, or color. Then, you can embed smaller fizzies in the fizzy to make it spin and shoot out colors. It’s your playground.
Make a Bath Bomb that Floats like LUSH!
Recipe author: FizzButter
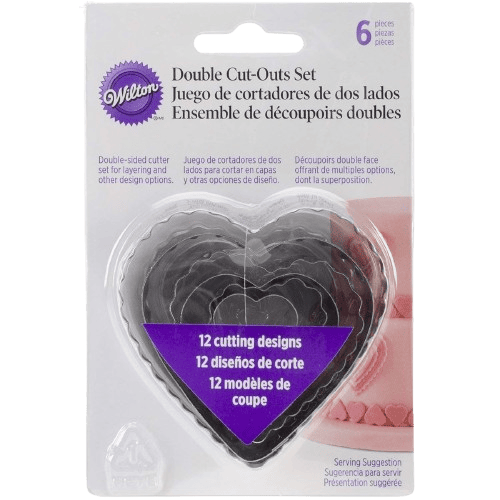
Yield: 15 large Wilton hearts. Prep time: 15 minutes
NOTE: INGREDIENT NAMES ARE LINKED TO AMAZON FOR EASY PURCHASE.
Dry Ingredients (Plus Fragrance)
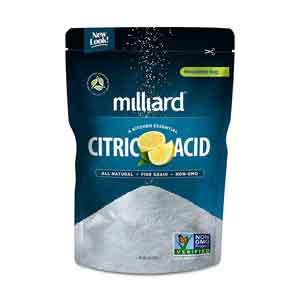
- 2 cups citric acid (fine grain works best)
- 4 cups Baking Soda
- 1 cup SLSA Coarse
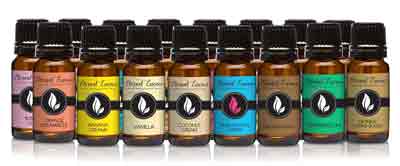
- up to 3 T Fragrance or Essential Oil
Wet Ingredients
- 1 Tbsp Wilton Gel Colorant
- 1/3 cup cold water
- 1/4 teaspoon Coco Betaine
-
STEP 1: Before you Begin!
- Think of this mixture in two parts: DRY INGREDIENTS and WET INGREDIENTS.
- DO NOT add any wet ingredients to dry ingredients until you are instructed!
- It is a good idea to wear gloves and a mask when making any bath treats.
-
STEP 2: Mix Dry Ingredients Plus Fragrance together
- Put the dry ingredients in a bowl in this order: citric acid, SLSA, baking soda.
- Add fragrance.
- Mix together gently.
- Set these ingredients aside.
-
STEP 3: Mix Wet Ingredients Together
- Next, take your Wilton Color and dissolve it in a very small amount of the water (just enough to make it liquid).
- Once the color is dissolved, add the rest of the water and the Coco Betaine.
- Stir gently.
- Set this aside.
-
STEP 4: Get Ready to mix wet and dry ingredients together
- IMPORTANT NOTE: Once you add water to the dry mixture the clock is counting and you need to get it mixed and molded quickly.
- Get another mixing bowl and put approximately 1/3 of your dry mixture in it.
- Set aside the rest for your dry mixture until the next round of molding.
- Now, carefully add 1 TBSP of your color/water mixture and start mixing gently. You will see it foam slightly where the water is added. Get that foam/liquid mixed evenly through your dry mix.
- Do not overmix. Just mix it to where the water is all through the dry mix.
- Next, make sure you have added enough water. Take a handful of mixture in your fist and squeeze. When you open your hand does the mix stay together or does it fall apart like dry sand?
- Test the consistency. Does it hold it’s shape without being sticky to your hand. Yes? You are ready to mold.
- No? Mix in a LITTLE more water. Do the squeeze test.
-
STEP 5: Mold your floating Bath Bombs
- As long as your wet to dry ratio is right, molding should be easy.
- Quickly mold your bomb by pressing your mixture into your mold. Unmold after a second or two (you shouldn’t have to leave these in for them to stay together.)
- Place unmolded bath bombs on 18 x 26 sheet pans lined with wax paper.
- You may get sticking in the corner of your mold after a few uses. This is normal and it doesn’t mean you are doing anything wrong. For example, in a heart shape, the point at the bottom of a heart my try to stick after you have used the mold a few times. For that reason, it is good to have a few more clean, dry molds handy for backup.
-
STEP 6: Cure your floating bath bombs
- Bath bombs cure best from 60-80 degrees. In fact, the cooler, the faster and better they cure. Do not put them in a high humidity area as it could cause pimpling on the surface of the fizzy.
- Never cure your bath bombs in direct sunlight, high temperatures or high humidity.
- Package your bath bombs after they have cured for 48 hours. Even if they look dry on the outside, there is probably still moisture in the middle, especially on larger fizzies. Ultimately, if you package them too early it may degrade the fragrance or make it smell funky. It can also effect the composition of the fizzy by making it slightly soft. Don’t do it.
Troubleshooting your Floating Bath Bomb
Have I added too much water?
You can tell if you added too much water because it will really stick to your hand and you will see your mixture visibly rising out of shape. i.e., you put it in the mold and it sticks so bad, you can’t get it out and it puffs out of shape.
If this has happened, work a little dry mix through it and see if it settles down.
Your target wet to dry ratio is just enough water to make it all stick together and no more.
One final note, if you start to cure your fizzies and they lose their shape and flatten on the bottom, you have added too much water. Large round shapes are the hardest to perfect and any flat design will be easier for a beginner.
Have I used enough water?
If the mix is sandy and doesn’t hold together enough to mold, it is likely you need to add a little bit of water. Be careful to just add a little at a time.
Have I under mixed my wet/dry mix?
You can tell if you under mixed if you get warts on your bath bombs as they sit and cure. It usually shows up very fast. You usually cannot redo them at this point, so just let them cure and use them anyway.
Pro Tip
2 cups of baking soda = 1 pound.
2 cups of citric acid = 1 pound.
Keep this in mind when you need to reorder raw materials.
More information on molds
You can use any kind of metal or milky way plastic mold with this recipe. However, it doesn’t work as well with a silicone mold.
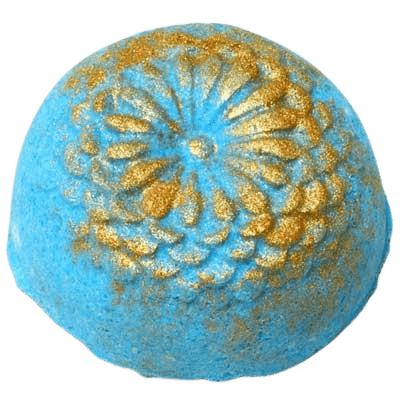
![]() We used a Wilton Heart mold on the yellow hearts and a Milky Way Chrysanthemum mold on the aqua colored flowers with gold shimmer below (sold out on Amazon).
We used a Wilton Heart mold on the yellow hearts and a Milky Way Chrysanthemum mold on the aqua colored flowers with gold shimmer below (sold out on Amazon).
TIP: Mix mica or shimmer with rubbing alcohol and you can paint or stencil your bath bombs! Or, just dust with shimmer for an adorable touch!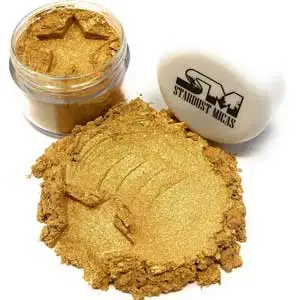

Just keep in mind, the less intricate the detail and the fewer sharp corners the better final results. Also, a flat bottom design like this is easier than a large round one for a beginner.
Floating Bath Bomb made with Milky Way Chrysanthemum mold and dusted with gold shimmer.
Pro Tip
Because of the bubbles, this bath bomb will not be moisturizing like our Butter Bath Bomb Recipe. Even if you add oils and butters, they will partially emulsify.
