Our best selling bath bomb 7 years straight!
Free bath bomb recipe for our best selling butter bath bomb. It was our top seller at FizzButter for 7 years straight.
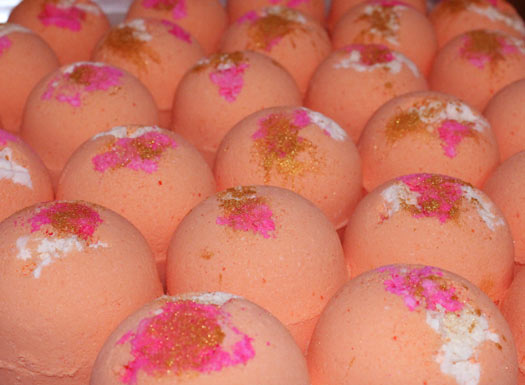 Butter Bomb embedded with fizzy frosting and dusted with gold shimmer.
Butter Bombs vs. Bubble Bombs
First, bath bombs fall into two broad categories: moisturizing bath bombs (butter bombs) vs. bath bombs that bubble (floating bath bombs).
So, if you prefer bubbles go to our floating Bubble Bath Bomb Recipe or Bubble Bar Recipe (solid bubble bath recipe).
Who needs a butter bath bomb?
People with dry skin love moisturizing bath bombs. In fact, during a warm bath your open pores drink in the luscious butters and oils.
I developed this formula because I had cracked, alligator feet. Not anymore!
Don’t like putting on lotion after a bath? No problem! Use a moisturizing butter bomb!
Select skin nourishing butters in their purest form without preservatives or chemicals. You won’t have to read the label because you know what is in it!
Use your favorite Butter combo
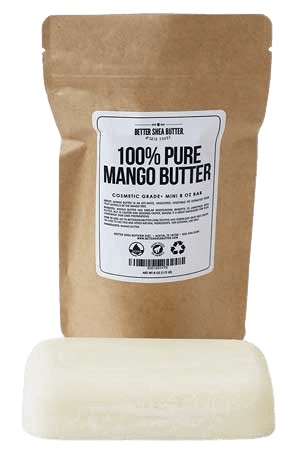
From the beginning, our master formula included shea butter. If I was still manufacturing today, I would use shea. In my opinion, shea is the king of butters and the cornerstone of any butter combination.
It’s so easy to customize this master recipe with your favorite choice of luscious butters and oils.
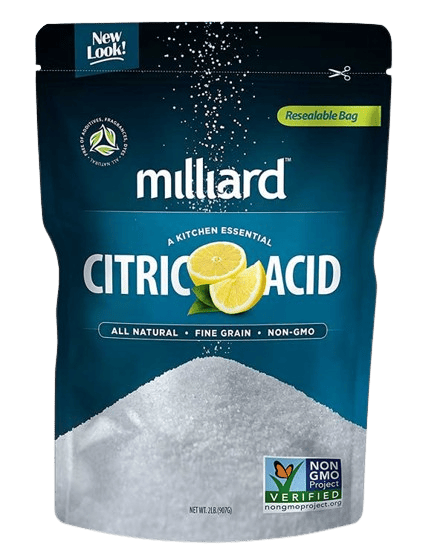
Citric Acid – Ingredient Spotlight
Citric acid can be coarse or fine grain. In addition, grain size DOES make a difference in the finished product.
If you use a small grain citric acid, like Milliard you will get a harder bath bomb with a smoother surface. Fine grain will clump if exposed to humidity so be sure to store it in a tightly closed bag.
Citric acid can irritate the skin so it is a good idea to wear gloves when you’re making bath bombs.
Fine grain citric acid works best. Get Milliard at Amazon.
Butter Bath Bomb Recipe Master
Recipe author: FizzButter Yield: 7 Jumbo or 14 small bath bombs. Prep time: 15 minutes
NOTE: INGREDIENT NAMES ARE LINKED TO AMAZON FOR EASY PURCHASE.
T = TABLESPOON = TBSP = 15ML
t = teaspoon = tsp = 5ML
Ingredients
- 2 cups of Citric Acid
- 4 cups Baking Soda
- 1/3 cup Epsom Salt
- 2 T Shea Butter
- 2 T Grape Seed Oil
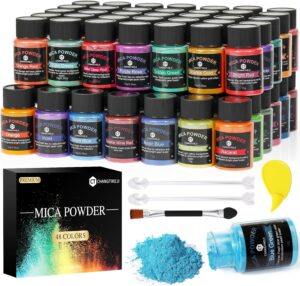
- 1/2 t Wilton Gel Colorant
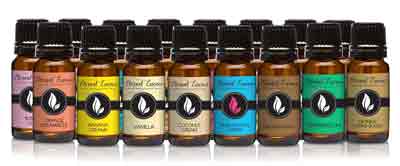
- 1 T Fragrance or Essential Oil
- 1/2 T cold water
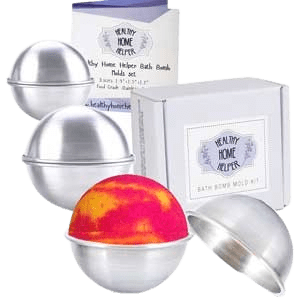
- Round Stainless Steel Molds
-
STEP 1: Mix your Dry Ingredients plus Oils
- Get a medium mixing bowl.
- Mix together: Baking soda, citric acid, epsom salt, melted shea butter, grapeseed oil, color, and fragrance.
-
STEP 2: Mix cold water into your dry mixture
- Put half your dry mixture into a small bowl and add 1/2 T cold water on top.
- Mix just enough to get all the water dispersed and no more. You will notice the color has darkened and distributed more evenly.
- Test your wet/dry ratio: take a handful of mix and squeeze it in your fist. When you open your hand does it hold its shape or does it fall apart like dry sand? If it holds it shape, go ahead to the next step. If it crumbles like dry sand, add a little more water and mix.
-
STEP 3: Mold your Bath Bombs
- Get your Round stainless steel molds lined up. Make sure they are cool and dry. Warm molds can sometimes stick.
- Pack and unmold one before you do them all so you can verify your wet/dry ratio. Once you have mastered the feel for how much water it takes, you have mastered this recipe.
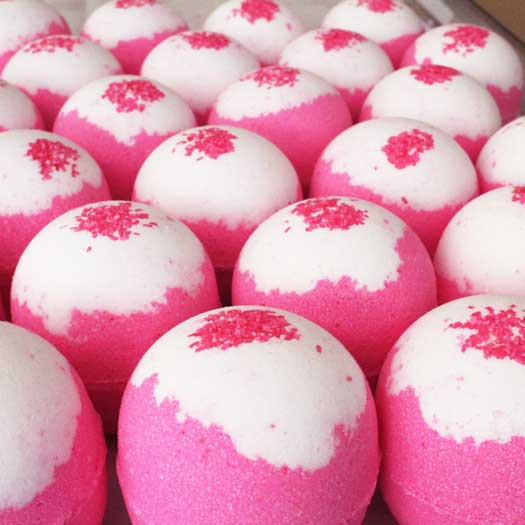
- Place unmolded bath bombs on a waxed paper. These 18 x 26 sheet pans lined with wax paper work great.
Always Use Stainless Steel or Plastic Molds
Never use aluminum when making bath bombs because it can discolor your mixture and turn it grey.
Always use stainless steel molds. Aluminum reacts to citric acid and should never be used.
Cure your Bath Bombs like a Pro
-
- Bath bombs cure best from 60-80 degrees. In fact, the cooler, the faster and better they cure.
- Do not put them in a high humidity area as it could cause pimpling on the surface of the fizzy.
- They really should not be packaged for 48 hours. Even if they look dry on the outside, there is usually still moisture in the middle.
- Never cure them or store them in direct sunlight.
Troubleshooting
Have I added too much water? If you added too much water the bomb may stick to the mold so bad that it won’t come out. You want the mix to be slightly damp, not wet. After you unmold, it should hold it’s shape and not flatten out on the bottom after a few minutes.
- Have I used enough water? If the mix is sandy and doesn’t hold together enough to mold, it is likely you need to add a little bit of water. Be careful to just add a little at a time.
- Have I undermixed my wet/dry mix? You can tell if you undermixed if you get warts on your bath bombs as they sit and cure. It usually shows up very fast. You usually cannot redo them at this point, so just let them cure and use them anyway.
Pro Tip
If you add SLSA to this master recipe, it will emulsify the butters which does two things:
- Suspends the butter so it won’t stick to the side of the tub.
- Makes the bath bomb less moisturizing.
Note: In our best selling butter bath bomb, we wanted full-on, messy butter because there is nothing like it for dry skin. If you don’t want that, simply add 1TB SLSA COARSE to this master recipe.
One Response